English
 русский
 Español
 عربى
عربى
A laser level for grading is a self-leveling instrument that projects a fixed horizontal or manually sloped laser plane, giving you an exact elevation reference that one person can read with a grade rod and detector. It is the fastest way to set forms, establish cut-and-fill lines, and check drainage slope, because it replaces string lines, water levels, and optical levels with a single locked-in reference plane. This guide covers how a grading laser works, which specifications matter, and the step-by-step procedure for setting and checking grade on site.
Content
- Why a Laser Level Is the Fastest Grading Tool
- How a Laser Level for Grading Works
- What to Look For When Buying a Laser Level for Grading
- How to Set Up a Laser Level for Grading
- How to Set and Check Slope with a Laser Level
- Outdoor Grading: Detectors, Sunlight, and the Rotary Alternative
- FAQ: Laser Level for Grading
Why a Laser Level Is the Fastest Grading Tool
A laser level beats every traditional leveling method on speed, and it matches or exceeds their accuracy once operator error is removed. Grade work is simply comparing heights against a reference, and the laser creates that reference instantly: switch it on, let it self-level, and every point on the site is checked against the same plane without re-stretching string or re-filling a hose.
The practical differences are shown below. Our comparison of laser levels versus traditional levels on precision and ease of use shows that the real gain is not raw accuracy but speed and repeatability: a laser never sags, never drifts mid-job, and never needs a second person to hold one end.
| Method | Typical accuracy | Crew | Setup time | Outdoor range |
|---|---|---|---|---|
| Water level | Good over short spans, but affected by temperature and trapped air | 2 people | Slow | Limited by hose handling |
| String line | Dependent on tension and sag; easy to misread | 2 people | Medium | Any, but accuracy drops quickly |
| Optical level | Very high, but reading the staff takes training | 1–2 people | Slow, requires leveling the instrument | Long, line of sight required |
| Self-leveling laser | Typically ±1 mm per metre or better | 1 person | Under a minute | 30–50 m with a detector |
How a Laser Level for Grading Works
A grading laser does two things: it self-levels to create a fixed horizontal plane, and in manual mode it can hold a tilted plane so you can shoot an actual slope. The self-leveling mechanism is a pendulum that settles the beam within seconds; if the unit is tilted beyond its compensation range, typically around ±4 degrees, it signals an error instead of projecting a false reference.
This matters on grading jobs because the reference plane is only as good as the self-leveling system. The way a laser level maintains its accuracy and stability determines how much you can trust a single reading at 20 or 30 metres.
What the line count means for grading
The more lines, the more reference planes; grading needs at least one horizontal line and one vertical plumb line. A two-line laser covers a slab and a corner, a five-line self-leveling laser level adds two plumb lines and a down point — the sweet spot for footing edges, block courses, and formwork around a graded pad — and a twelve-line model adds vertical side walls for aligning all four foundation walls at once.
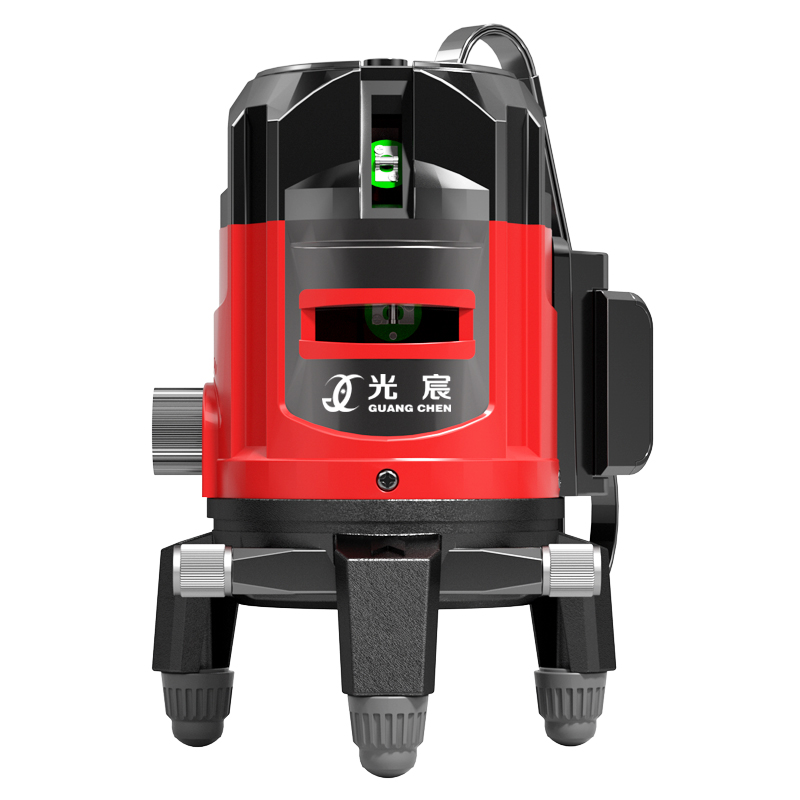 Custom High Precision 5-Line Green Laser Level Manufacturers, FactoryJiangsu Guangchen Electronic Technology Co., Ltd is a China custom high precision 5-line green laser level manufacturers and factory, we ...View Product →
Reading grade: rise, run, and percentage
Grade is a vertical difference over a horizontal distance, and the laser gives you that difference at every point. A 1 percent slope equals 1 cm of fall per metre of run, close to 1/8 inch per foot; a 2 percent slope equals 2 cm per metre. You never calculate this from the beam itself — you read the beam height on the grade rod at each point, and the difference between readings is your elevation change.
What to Look For When Buying a Laser Level for Grading
Choose a model with a self-leveling accuracy of ±1 mm per metre or tighter, a manual mode for sloped beams, and pulse mode so the beam works with a detector outdoors. These three features decide whether the tool is useful on a sunny grading site or only indoors.
- Accuracy specification: check the mm-per-metre figure at the distance you work; short-range specs often flatter the real long-range performance.
- Self-leveling range and pendulum lock: a wider range resets faster on uneven ground, and the lock protects the pendulum when you carry the unit between stakes.
- Pulse mode and detector compatibility: without it, the plane is invisible in daylight beyond a few metres.
- Mounting: look for 1/4 inch and 5/8 inch tripod threads and a base that stays stable on irregular ground.
- Dust and water resistance: IP54 is the practical minimum for grading work.
If most jobs are small slabs, paths, and drainage runs, a compact two-line laser level is the practical pick when you mainly need a horizontal reference for screeds and forms.
 Custom High Precision 2-Line Green Laser Level Manufacturers, FactoryJiangsu Guangchen Electronic Technology Co., Ltd is a China custom high precision 2-line green laser level manufacturers and factory, we ...View Product →
How to Set Up a Laser Level for Grading
The setup is identical whether you are checking a patio slab or a 30-metre drainage run: create a stable reference, lock the beam, and read every other point against it. Get the tripod wrong and no amount of laser accuracy can fix it.
- Set the tripod on firm, dry ground and press the feet in. Avoid soft soil, fresh gravel, or anything that can settle between readings.
- Mount the laser level and switch it on. Let it self-level fully; most units flash or beep until they lock.
- Place the grade rod at a known elevation — a benchmark, a finished-floor reference, or a surveyed stake — and record the detector reading.
- Move the rod to each point where you need to set grade and compare the reading against the reference. A higher reading means the ground is lower; a lower reading means the ground is higher.
- Mark each stake or form with the required reading and repeat across the site.
For the full method, including detector handling and common reading errors, see our guide to the correct laser level measuring procedure.
How to Set and Check Slope with a Laser Level
To set a slope, shoot a level beam and set every form or stake so the detector reading changes by the planned fall over the known distance. Keeping the beam level puts all the math into the rod readings, which is safer than tilting the beam and trusting one reading.
Setting forms and grade stakes
Calculate the total drop first: a patio 4 m wide at 1.5 percent needs 6 cm of fall across its width. Mark the high-side form at the reference reading, then raise or lower the low side until the detector reads 6 cm more. Set intermediate stakes the same way so the screed work has no surprises.
Checking foundation corners and wall alignment
Once the pad is graded, the same setup verifies that foundations are plumb and level with the surrounding work. A twelve-line laser level projects vertical planes on all sides of the excavation, so you can check a footing corner and the opposite wall without moving the tripod. Re-checks after compaction or rain take minutes, not a full re-run of string lines.
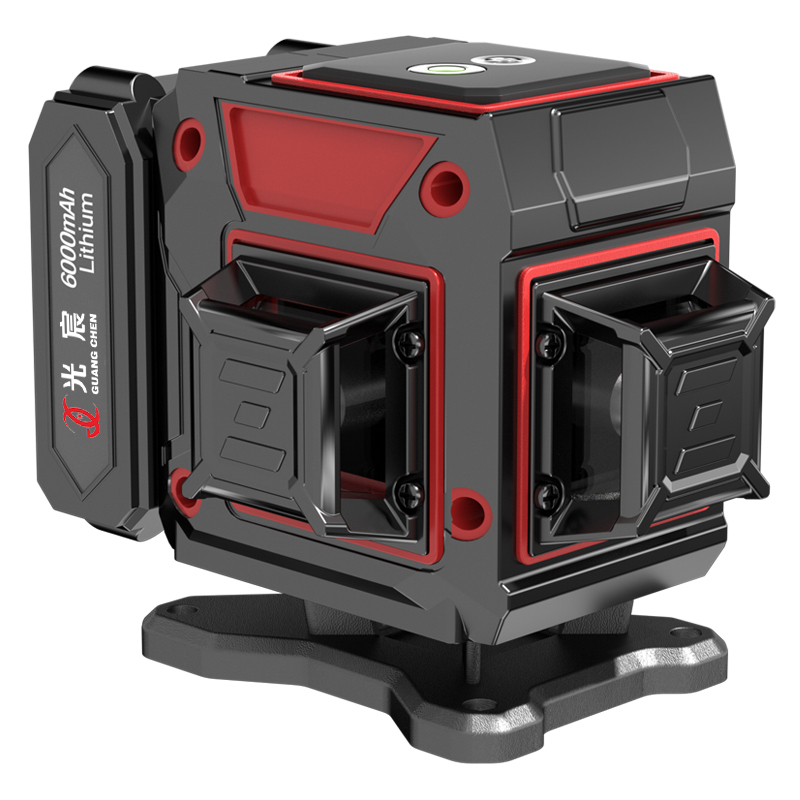 Custom High Precision 360° 12-Line 3d Green Laser Level Manufacturers, FactoryJiangsu Guangchen Electronic Technology Co., Ltd is a China custom high precision 360° 12-line 3D green laser level manufacturers and fac...View Product →
Verifying finished grading
Re-shoot the finished surface from the same tripod position. Any area that reads off its planned value shows immediately, and on a compacted base you can fix small discrepancies before the concrete or pavers go down. This is the fastest way to catch low spots that will hold water later.
Outdoor Grading: Detectors, Sunlight, and the Rotary Alternative
On a sunny site, the detector is more important than the laser itself: the bare line is readable to only about five to ten metres in daylight, while a detector on a grade rod extends readings to the full rated range. Clip the receiver to the rod, slide it until it beeps, and read the scale — the invisible plane becomes an exact measurement at every stake.
Without a detector, work at dusk when the line is visible enough for smaller form-setting jobs. For very large open areas, a rotary laser with a detector is the conventional choice because it sweeps a level plane 360 degrees at longer range; for most residential and light commercial grading, a line laser with pulse mode does the same job with less weight and cost. Weigh the site size before you buy.
FAQ: Laser Level for Grading
Can a laser level be used outdoors for grading?
Yes, with the right setup: use a detector on a grade rod in daylight, or rely on the visible line at dusk. Self-leveling works in full sun; the limitation is only beam visibility.
What slope should I set for drainage grading?
Use 1 to 2 percent, which equals 1 to 2 cm per metre, or roughly 1/8 to 1/4 inch per foot. Confirm local codes for paved areas and ditches, since minimum falls vary by surface type.
Is a rotary laser better than a line laser for grading?
For large open sites, yes. For forms, footings, slabs, and runs up to about 30 metres, a line laser sets up faster and costs less, so it is usually the better return on investment.
How accurate is a laser level over distance?
Most mid-range self-leveling models are specified at ±1 mm per metre or better, and error is cumulative, so check the spec at the full distance you plan to shoot rather than the headline figure.
Do I need a laser detector or receiver?
Outdoors in daylight, yes, unless you work at dusk or on overcast days. Match the detector to the laser's pulse frequency so you read the correct plane.