You have just unpacked a new 5-line laser level, and the first thing you realize is that holding it steady against a wall with one hand while marking a layout with the other is not a viable strategy. The accuracy of any laser level is only as good as the platform it sits on. Setting the tool on a stack of paint buckets or a wobbly stepladder introduces slope and height inconsistencies that multiply over distance, turning a precise instrument into a guess. The core decision you face is not whether to buy a laser level tripod, but which one fits your specific work. This guide cuts through the generic advice and focuses on the concrete specifications—mount threads, load capacity, height range, and material—that determine whether your next layout goes smoothly or ends in frustration.
Content
The primary job of a laser level tripod is to provide a stable, level, and repeatable platform at the correct working height. When you place a laser level directly on the floor, you sacrifice the elevation needed for wall layouts. Propping it on a ladder introduces a tilt of even one degree. At a distance of 10 meters, that one-degree slope translates to a line offset of roughly 175 mm. Your measurements are no longer trustworthy, and rework costs time and materials.
There is also a trade-off between stability and convenience. A lower tripod is inherently more stable because the center of gravity is closer to the ground, but it becomes impractical for tasks above waist height. A taller tripod extends your reach but demands sturdier legs and locks to prevent sway. The solution is a tripod with a solid lock mechanism and a height range matched to your typical jobs. Think of the tripod as part of the accuracy chain: the laser generates the reference, and the tripod preserves it. For a deeper look at how the laser keeps its internal calibration, our guide on how the laser ensures accuracy and stability outlines the full system.
The material of the tripod legs is the first major fork in the road. Both aluminum and fiberglass have legitimate places in a professional's kit, but the correct choice depends on your primary working environment. According to the manufacturer, each material serves a distinct purpose in measurement work.
Do not pay for performance you will not use. If you only work indoors on service calls, the extra weight of a fiberglass tripod is a daily penalty. If you work outdoors in rough terrain, a lightweight aluminum tripod will frustrate you with vibration and instability. There is a third tier—carbon fiber—which is lighter and stiffer than both, but the price premium is hard to justify unless you are hiking to remote job sites daily.
Laser levels vary significantly in weight. A compact 2-line model weighs around 400 to 600 grams, while a multi-line professional unit with a receiver can exceed 1.5 kilograms. The tripod's load rating is not a suggestion; it is the threshold where the head and legs maintain rigidity under the device. A tripod rated for exactly the weight of your laser will flex, causing the bubble vial to drift and your calibration to shift.
Use this simple rule: the tripod's rated capacity should be at least double the weight of your laser level. This headroom accounts for the receiver, mounting brackets, and the occasional accidental bump. For example, a heavy-duty unit such as the 16-line laser level demands a tripod with a forged head and wider leg stance to prevent torsional flex when you rotate the unit for a corner layout. Never assume that a cheap camera tripod will work. Camera tripods are built for light mirrorless bodies, not for a rotating laser head.
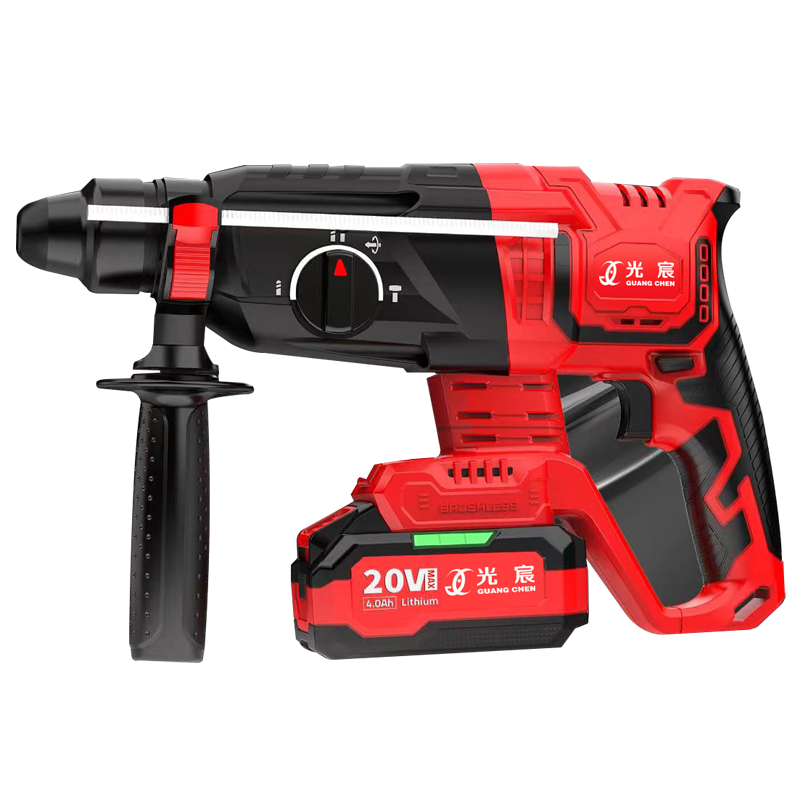 Custom High Precision 360° 16-Line 4d Green Laser Level Manufacturers, FactoryJiangsu Guangchen Electronic Technology Co., Ltd is a China custom high precision 360° 16-line 4D green laser level manufacturers and fac...View Product →
Knowing the maximum height of a tripod is useless if that number falls outside the range you work in daily. A tripod that extends to 3.5 meters is a waste of money and packing space if your primary task is foundation footing layout at 0.6 meters off the ground. Stop staring at the "max height" spec and instead measure the height of the reference points in your most frequent jobs.
Here is a practical breakdown of how working height translates to tripod specifications:
| Application Scenario | Required Working Height | Tripod Spec You Need |
|---|---|---|
| Floor layout, foundation rebar, low pipe runs | 0.5 – 1.2 m | Minimum leg length below 0.5 m; standard extension is fine |
| Wall studs, door frames, window headers, wainscoting | 1.5 – 2.5 m | Max extension at least 2.5 m; center-column lock required |
| Ceiling grids, overhead cable trays, high ductwork | 2.5 m and above | Extendable center column or a pole accessory; check stability |
Pay attention to the tripod's closed length. A 2.5-meter tripod that collapses to 1.2 meters will not fit in a standard work truck tool box. Three-stage leg sections give you the best balance between extended height and packed size. The locking levers on the leg collars matter as much as the overall height—squeeze-and-release locks are faster, while threaded twist locks are less susceptible to sand and debris.
The tripod head is where your laser attaches, and it directly controls how fast you achieve a level setup on site. The most inefficient part of a layout job is re-leveling the laser after every reposition. This is where a quick-release plate (QRP) turns a five-minute chore into a ten-second step. The plate mounts to the laser base and clicks into the tripod head with one lever. When you need to move the laser to a new corner, you detach the plate, leave the tripod in place, and reattach at the new location without re-threading the screw.
Bubble vials on the tripod head give you a coarse level check, but the fine adjustments come from adjustable feet on the tripod legs. If your setup area is a concrete slab with 1% slope, you need a tripod whose leg extensions are independently adjustable in small increments. Look for legs with micro-adjustment knobs rather than only push-button detents. Gear-driven heads offer precise control for rotating the laser horizontally, which is critical when you are projecting a 90-degree layout for an interior partition wall. The head should have a solid locking clamp—if the head twists when you release the level, you are fighting friction, not adjusting the device.
Make sure that the head of your tripod is compatible with the base of your laser. Most compact green-beam disposables use a 1/4-inch thread. Professional rotating lasers use a 5/8-inch thread. Many quality tripod heads include an interchangeable screw that flips between the two sizes. Always check this detail before purchase; forcing a 1/4-inch thread onto a 5/8-inch post damages the threads on both components.
Before you buy any laser level tripod, flip your laser over and look at the base. The center mounting hole comes in two standard sizes in the industry: the smaller 1/4-inch (found on most line lasers and camera mounts) and the larger 5/8-inch (found on heavy duty rotating lasers). Many modern tripod heads ship with a reversible mounting screw: you unscrew one size and screw in the other. Do not rely on a universal adapter if you can verify the thread size directly on your device.
Here is the three-step compatibility check to run:
For example, the 12-line laser level is a heavier self-leveling unit; when mounting it, you need to ensure the clamping surface is long enough to hold the base without overhang. A tripod with a small 50 mm platform will let a wider laser base rock. This is not a rare problem—it happens frequently when users throw a tripod in the cart without reading the head dimensions. Match the base area of the laser to the platform width of the tripod. A discrepancy of just a few millimeters means an unstable setup and a recalibration on every single job.
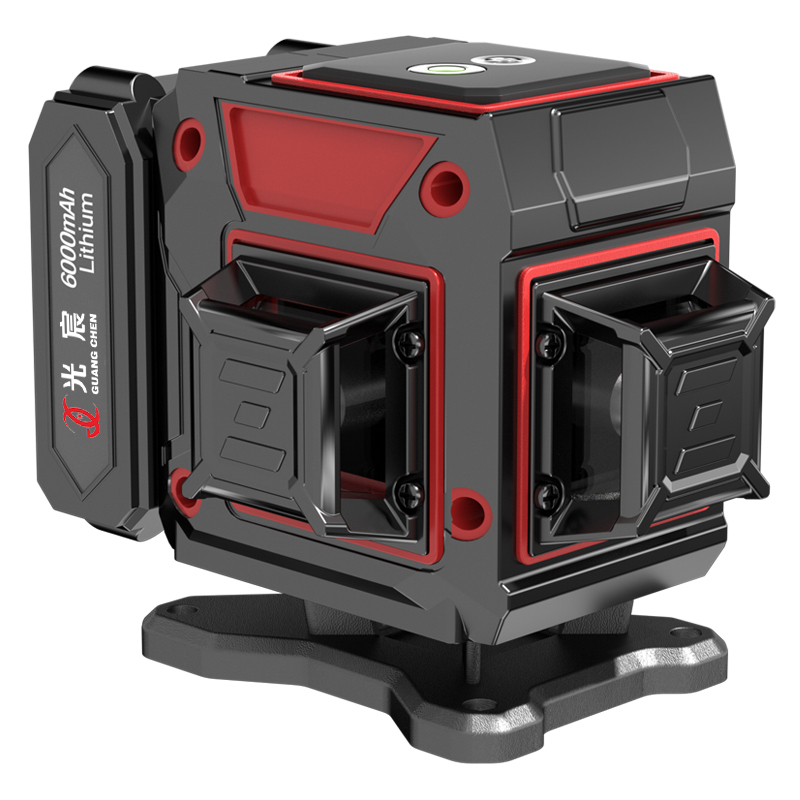 Custom High Precision 360° 12-Line 3d Green Laser Level Manufacturers, FactoryJiangsu Guangchen Electronic Technology Co., Ltd is a China custom high precision 360° 12-line 3D green laser level manufacturers and fac...View Product →
Buying the right tripod is half the battle. The other half is setting it up correctly on site. A tripod with loose leg locks or splayed feet on uneven ground will defeat the purpose of your investment. Follow this sequence every time you place the laser, and you will eliminate a whole class of measurement errors.
If the job site is windy and you are using a multi-line level, lower the tripod and push the legs outward to widen the stance. In extreme cases, hang a weight (like a tool bag) from the center hook to add mass to the tripod. The worst setup is a tripod at full extension on a windy rooftop—the laser might be level, but the whole assembly is vibrating, smearing the laser line. You also need to know how to use your laser level correctly during the actual marking process; tripod setup is just the beginning of a reliable workflow.
When you are standing in the aisle or scrolling through listings, run through this five-point check. It narrows down the options to the tripod that actually serves your workload.
Once you have ticked those boxes, the final step is confirming that your laser level's class matches the tripod. A high-line count unit demands heavier stability. If you are still evaluating which laser to pair with your tripod, browse the complete range of laser levels to see the different weight classes and mounting bases available. The tripod you choose should disappear into the background of your work—it should hold your laser securely, level it quickly, and stay out of the way. When a tripod does its job, you stop thinking about it, and your measurements stay consistent from the first layout to the final inspection.

Copyright 2023 Jiangsu Guangchen Electronic Technology Co., Ltd. All Rights Reserved
China Lithium Power Tools Supplier


 English
 русский
 Español
 عربى
عربى