English
 русский
 Español
 عربى
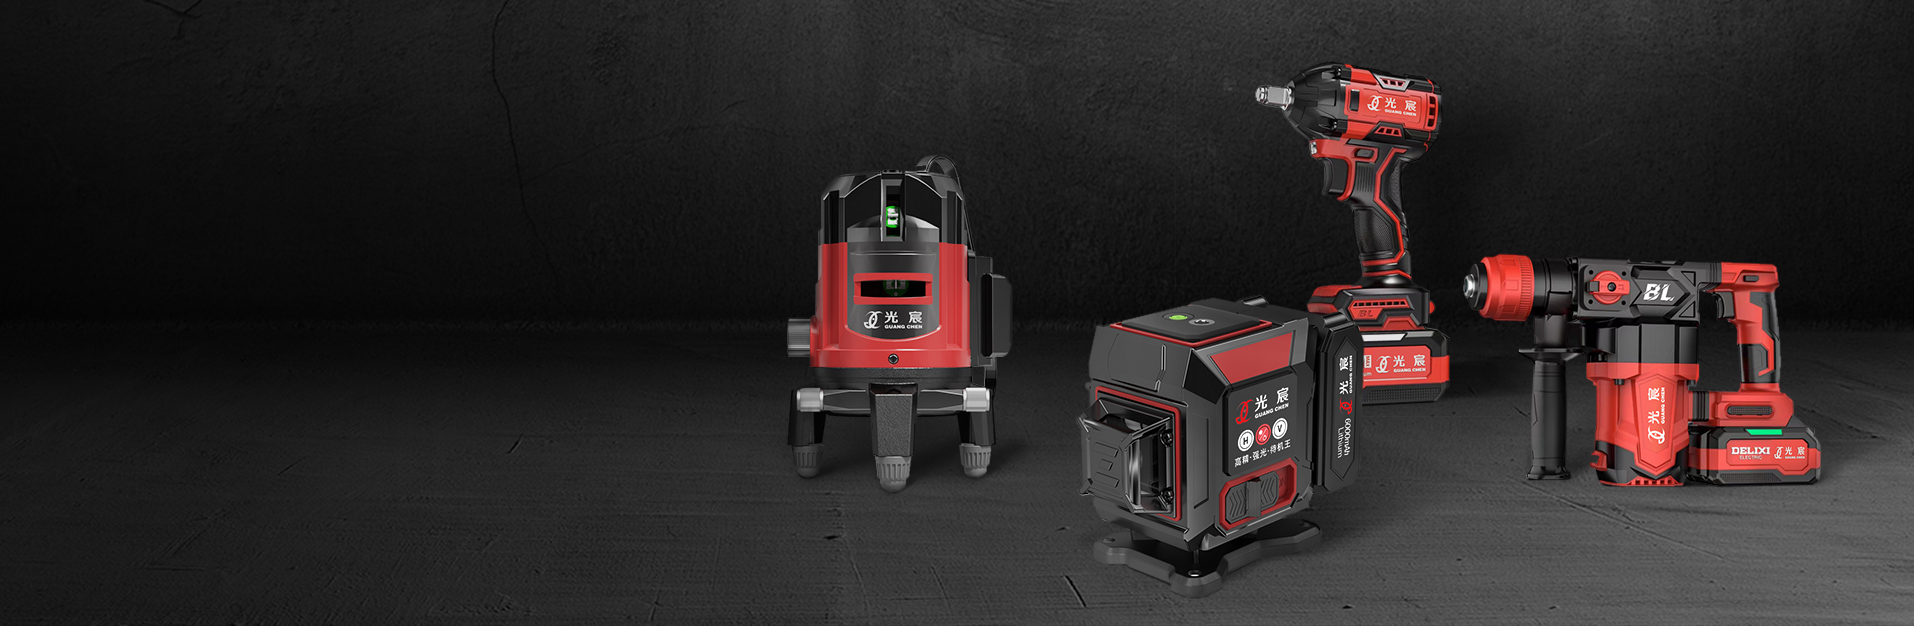
A grading laser level is a self-levelling instrument that throws a horizontal reference plane across a site so you can compare elevations, calculate cut and fill, and verify sub-grade without string lines. The short version of the buying decision: match working range to the plot first, buy accuracy at least twice as tight as the tolerance you must hold, and confirm the IP rating and detector compatibility before you look at price. A mid-priced unit with those three boxes ticked will out-perform a brighter, tighter laser that cannot be read 40 metres away in sunlight.
What follows is the practical version of that advice, written from the shop floor rather than the brochure: how range behaves in daylight, how millimetre-per-metre specs turn into real error over distance, which line count suits which task, and the setup routine that keeps a checked laser checked.
Content
- What a Grading Laser Level Does That a Spirit Level Cannot
- Match Working Range to the Size of the Job
- Accuracy, Tolerance and the Arithmetic Most Buyers Skip
- Line Count and Coverage: Three, Twelve or Sixteen
- IP Rating, Temperature and Site Durability
- How to Set Grade with a Laser Level
- Procurement Checks and Common Mistakes
- FAQ
What a Grading Laser Level Does That a Spirit Level Cannot
A grading laser level gives you a constant elevation reference that another person can read anywhere on site at the same moment.
Once the unit self-levels, the beam defines a single horizontal plane. Hold a grade rod at any point and the height of the beam on the rod tells you the elevation difference between that point and the instrument. Subtract the reading from your benchmark reading and you have cut or fill, in millimetres, without walking a level line back to a datum.
Two mechanical details decide whether that plane is usable outdoors. The first is pulse mode, a modulated beam that a handheld detector can read when the naked eye cannot see a line in bright sun. The second is the self-levelling range, typically around ±3° to ±5°; beyond that the unit stops and warns you instead of quietly projecting a tilted plane. Rotary lasers are still the standard for long road and embankment work, while line lasers handle trenches, formwork, footings, slabs and interior work well.
Match Working Range to the Size of the Job
Working range, not headline accuracy, is what disqualifies most grading laser levels from a job before they ever arrive on site.
Manufacturer ranges are quoted under good conditions; in direct sun expect roughly half of the indoor figure, and expect even less through dusty air or across a wet, reflective surface. A four-person crew sharing one instrument also needs the beam to reach the far corner the first time, otherwise somebody walks the site twice.
| Task | Useful working radius | Detector needed | Typical fit |
|---|---|---|---|
| Interior fit-out, partitions, ceiling grid | Up to 15 m | No | 2-line or 3-line cross-line unit |
| Footings, formwork, short drainage runs | 20-40 m | Yes | 12-line unit with receiver |
| Slab checks, plot-wide sub-grade | 40-80 m | Yes | 16-line unit plus grade rod |
| Roads, embankments, large pads | Over 100 m | Yes | Rotary laser rather than a line unit |
If the plot sits in the middle rows of that table, a multi-plane line unit is the more flexible purchase: it does the outdoor grading passes and still earns its keep indoors on ceilings and MEP layout.
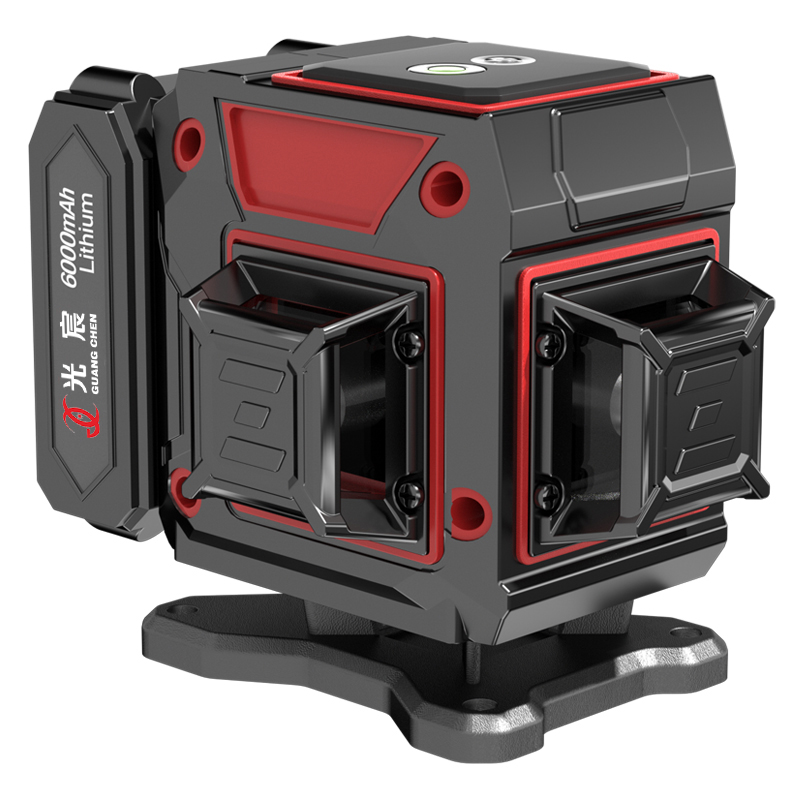 12-Line Multi-Plane Laser Level with 4H/8VThe 12-line multi-plane unit provides four horizontal and eight vertical lines, making it a flexible choice for ceiling and MEP layout work.View Product →
Accuracy, Tolerance and the Arithmetic Most Buyers Skip
Buy at least two times tighter than the tolerance you must hold, because the beam error and the setup error stack up.
Accuracy is quoted in millimetres per metre, and that number multiplies with distance. A unit rated at ±0.3 mm/m looks harmless until you are 30 m from it, where the plane can sit 9 mm off the true horizontal before anyone has made a mistake with the tripod.
| Distance from instrument | ±0.2 mm/m | ±0.3 mm/m | ±0.5 mm/m |
|---|---|---|---|
| 10 m | 2 mm | 3 mm | 5 mm |
| 20 m | 4 mm | 6 mm | 10 mm |
| 30 m | 6 mm | 9 mm | 15 mm |
| 50 m | 10 mm | 15 mm | 25 mm |
Two habits protect that accuracy in the field. First, ask for a calibration certificate with the unit and a stated recalibration interval, then keep the paper with the tool. Second, run a field check before a critical pour: set two pegs about 20 m apart, take a reading on each, turn the instrument 180° in the same spot and read both again. If the difference between the two pairs drifts, send it in for servicing rather than compensating in your head. The mechanics behind that drift are covered in our note on how a laser level holds its accuracy and stability.
Line Count and Coverage: Three, Twelve or Sixteen
Line count should follow the layout work you actually do, not the specification sheet you want to show a client.
Three lines: one operator, one room
A 3-line unit projects a horizontal plane plus two verticals at 90°, which covers level lines, plumb points and square reference for partitions, sockets and shelving. It is the lightest option for a single tradesman working inside, and it packs into a hand tool bag.
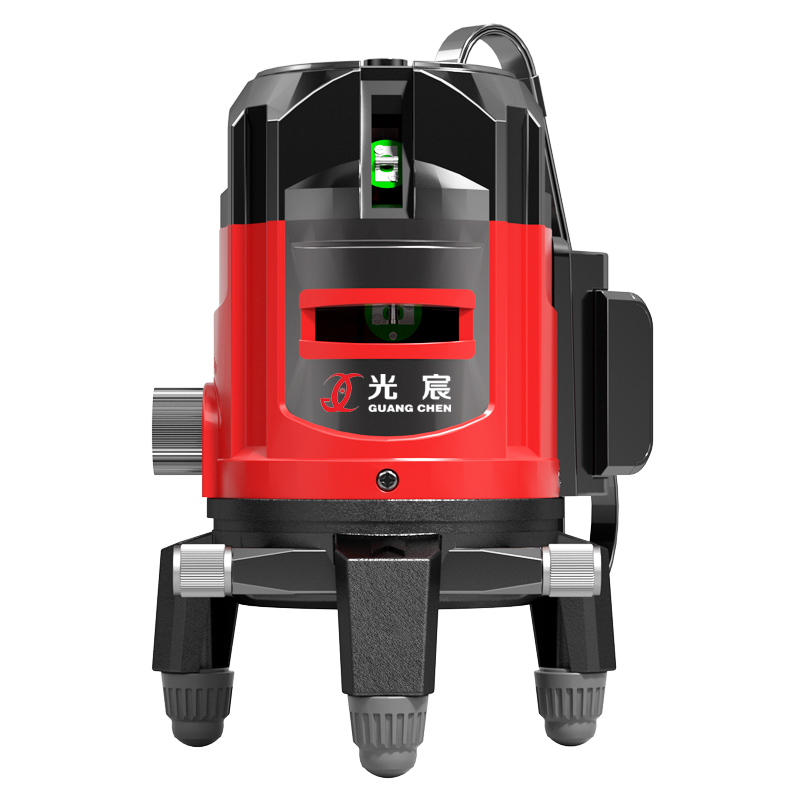 3-Line Laser Level for Indoor LayoutThe compact 3-line laser level projects one horizontal and two vertical lines, making it a light choice for a single tradesman working indoors.View Product →
Twelve and sixteen lines: multi-plane coverage
Higher line counts deliver full 360° horizontal coverage plus several vertical planes, so two people can work on opposite sides of a room without moving the instrument. The 16-line format adds floor and ceiling references and more plumb points, which suits slab layout, suspended ceilings and equipment alignment. Both formats are heavier, hungrier on battery and more expensive to recalibrate, so only step up if the layout work is repetitive.
 16-Line Multi-Plane Laser Level for LayoutThe 16-line laser level projects eight horizontal and eight vertical lines, adding floor and ceiling references for slab layout, suspended ceilings and equipment alignment.View Product →
The full laser level range runs from 2-line units for simple levelling up to 16-line multi-plane instruments, which makes it easier to match the tool to the crew rather than the other way round.
IP Rating, Temperature and Site Durability
Treat IP54 as the minimum for outdoor site work and IP65 as the sensible target if the tool will see rain, slurry or washdown.
The first digit covers dust and the second covers water; a unit rated IP54 survives splashes and dusty air, while IP65 tolerates jets of water from any direction. Housing seals degrade with UV exposure and repeated battery swaps, so check that the battery door has a gasket rather than a plastic lip.
- Operating temperature is usually quoted from about -10 °C to 50 °C; below that, keep spare lithium batteries inside a jacket, because cold cells drop voltage long before the laser itself gives up.
- Confirm the tripod thread, usually 5/8"-11 on site instruments, and check that the mounting base can be fine-adjusted without lifting the unit.
- Class 2 laser output is normal for site tools; insist on the warning label and keep the beam out of eyes at rod height.
- Check spares availability for the battery, charger and detector, since a discontinued detector can retire an otherwise healthy laser.
How to Set Grade with a Laser Level
The routine below is the one that survives inspections: establish a benchmark, verify the instrument, then convert beam readings into cut and fill.
- Fix a benchmark of known elevation, ideally a surveyor's mark or a permanent structure, and write the value down.
- Set the laser on a tripod on firm, dry ground, clear of plant traffic, and check the tripod feet are seated, not resting on loose spoil.
- Power on and let the unit self-level; wait for the level indicator to settle rather than nudging the housing.
- Take a reading on the benchmark with a grade rod and record it as your reference reading.
- Take readings at the working points. Cut or fill equals the reference reading minus the local reading, so a higher number on the rod means lower ground.
- For a sloped grade, use the manual tilt or grade mode and set the percentage, then verify the slope at two points at different distances before you trust it.
- Re-check the benchmark at the end of the session; if the instrument has been knocked, the whole set of readings is void.
Procurement Checks and Common Mistakes
Most grading laser level returns trace back to three predictable gaps: no detector, no certificate, and a unit bought for the wrong range.
- Buying a tight indoor laser for a 60 m plot: the accuracy is irrelevant if the beam cannot be seen.
- Ordering without a receiver or without pulse mode, which makes the tool indoor-only in practice.
- Ignoring battery runtime and interchangeability across a crew's existing tools.
- No written calibration interval, so nobody can prove the instrument was in spec on the day of the pour.
- Skipping the case, spare battery and rod clamp at the quotation stage, then paying retail for them later.
For buyers sourcing in volume, ask for the calibration record, the IP rating test method and the detector compatibility list in writing; a manufacturer with two decades of instrument production should be able to supply all three without delay.
FAQ
Can a line laser be used for grading outdoors?
Yes, provided it has pulse mode and you use a detector, and the distances stay inside roughly 40-80 m depending on model. Beyond that, a rotary laser is the better tool.
How accurate does a grading laser level need to be?
At least twice as tight as your working tolerance. For a 5 mm tolerance at 20 m, a ±0.2 mm/m unit leaves reasonable margin; a ±0.5 mm/m unit consumes the whole allowance before setup error.
How often should the instrument be recalibrated?
Annually for daily site use, and immediately after a drop, a wetting or any failed two-peg field check. Treat calibration as a consumable, not a repair.
What is the difference between levelling and setting grade?
Levelling holds a single horizontal plane. Grading requires a defined fall, so you either use the instrument's grade or tilt mode or calculate cut and fill from beam readings against a benchmark.
Buy the range you can actually see, the accuracy you can prove, and the housing your site will not destroy. Everything else — line count, brand of battery, colour of the case — is a preference, and preferences are much easier to live with when the beam lands on the rod first time.