English
 русский
 Español
 عربى
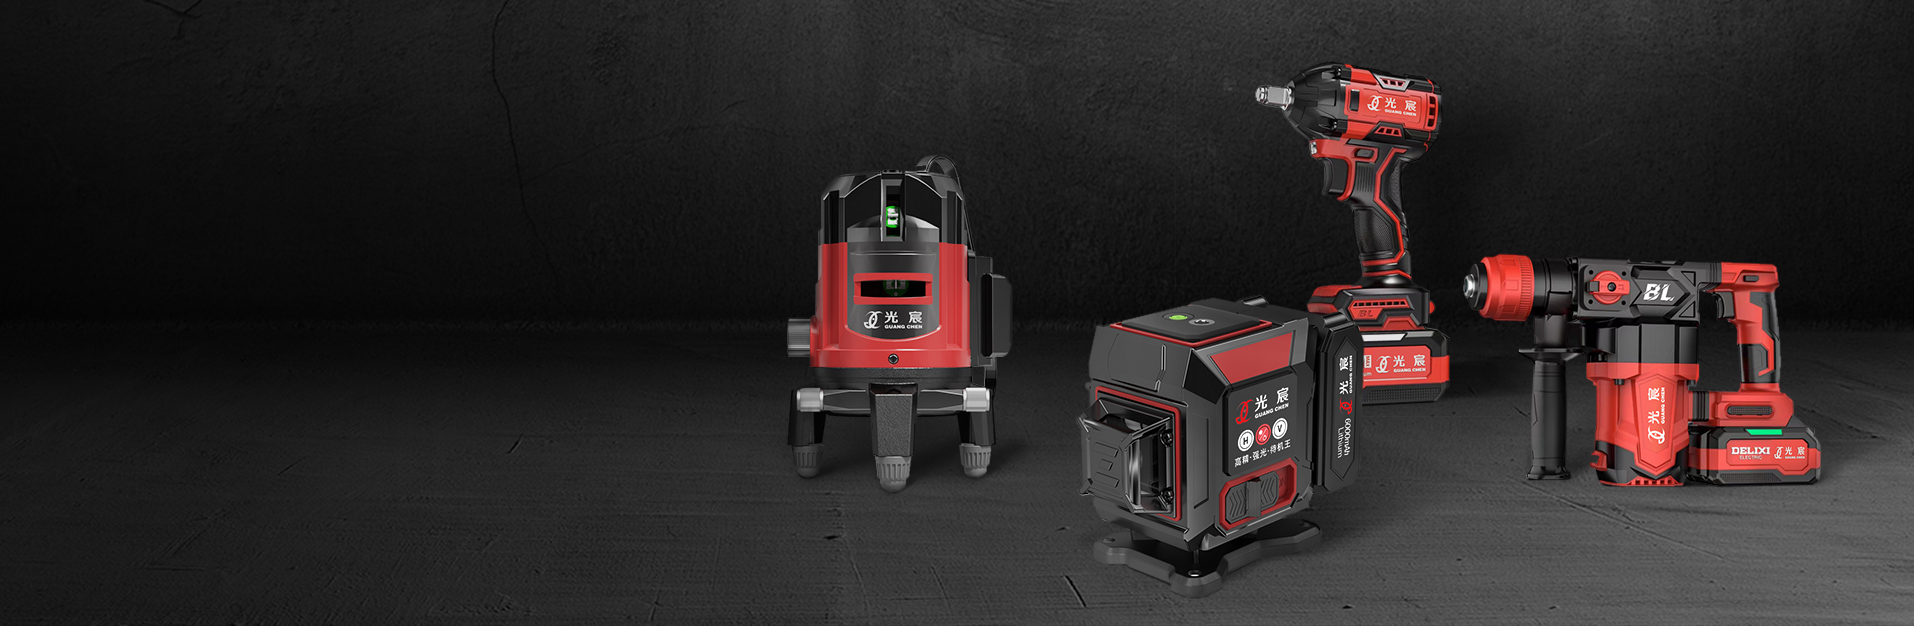
A floor laser level is a self-leveling instrument that projects a horizontal plane across an entire room, so you can measure how flat a floor really is, set finish heights, and mark layout without chalk lines or a spirit level moved every meter. Used properly, it answers three questions in one sweep: where the high and low spots sit, how much leveling compound the floor will need, and where the finished surface should land relative to door thresholds, stairs, and adjoining rooms.
If you are buying rather than using, here is the short version. A horizontal accuracy of ±1/8 in at 30 ft, a self-leveling range of ±3° to ±5°, a full 360° horizontal line, and an IP54 housing will cover most residential and light commercial floor work. Line count, beam color, and receiver support are decided by the size of the space and how bright the site is, not by the price tag.
- Accuracy matters more than headline range, because floor work happens at long sight distances where error accumulates.
- Coverage decides setup time: one 360° plane per room instead of four re-positions.
- Verification is not optional. Any laser can be knocked out of calibration, and a floor poured from a bad reference is expensive to correct.
Content
What a floor laser level does that a spirit level cannot
A floor laser level gives you a reference plane; a spirit level gives you a reading at one point. That difference is what makes it useful on floors, where the question is rarely "is this spot level" but "how far from level is this whole room."
To map flatness, mount the unit on a tripod at a comfortable height, let it settle, then measure from the projected line straight down to the floor at a grid of points — roughly every 1 to 2 m in both directions in a normal room. The spread between the smallest and largest readings is the floor's total deviation, and the individual numbers tell you where to grind high spots and where to pour self-leveling compound.
The second job is height transfer. Set the line to a target elevation, say 1.000 m above finished floor, and mark it around the room with a pencil. Every threshold, stair nosing, and doorway in that room now has a single consistent reference. The third job is layout: two vertical planes at 90° let you square a tile grid or a run of cabinets and confirm that the walls are actually square before you cut anything.
The specifications that decide whether it survives a real job
Four numbers decide whether a floor laser level is genuinely useful on site: accuracy, self-leveling range, coverage, and ingress protection. Everything else is convenience.
| Parameter | What it controls | Practical target |
|---|---|---|
| Horizontal accuracy | How much error accumulates as you move away from the unit | ±1/8 in at 30 ft for general work; ±1/16 in at 30 ft for finish floors |
| Self-leveling range | How far the housing can be tilted before it stops correcting | ±3° to ±5°, with a visible or audible out-of-range warning |
| Coverage | How much of the room you can see from one setup | 360° horizontal plane as the minimum; add two vertical planes for layout |
| Ingress protection | Dust and splash survival on a working site | IP54 or better, with recessed windows and a sealed battery door |
| Mount thread | Compatibility with your tripod, pole, or wall bracket | 1/4"-20 or 5/8"-11, matching what you already carry |
| Power | Whether it finishes a full day | Rechargeable pack for daily use; AA cells if you work in cold weather |
Beam color is a working-condition choice rather than a quality signal. Green beams read more easily in bright interiors and near windows, while red beams typically draw less power and cost less. On exterior slabs or in direct sun, neither color will help you at distance — that is what a detector or receiver is for, and it extends usable range to well over 100 ft.
Matching line count to the work you actually do
Buy the coverage your jobs need, not the highest line count on the page. Extra planes only pay off if they remove a setup.
| Line count | What you get | Best suited to |
|---|---|---|
| 2-line | One horizontal and one vertical line | Checking a single threshold, a small bathroom, a short screed run |
| 3-line | One horizontal plus two verticals at 90° | Squaring a room, tile layout, cabinet and partition runs |
| 5-line | Adds plumb points above and below | Door frames, stud partitions, transferring points between floors |
| 8-line | Two vertical planes plus a horizontal plane | Full-room layout with one setup |
| 12-line | Three 360° planes: floor, walls, ceiling | Floor leveling plus wall and ceiling reference in the same visit |
| 16-line | Four vertical 360° planes plus horizontal | Dense layout grids, multiple partitions, large open floors |
For a single-room renovation, a compact 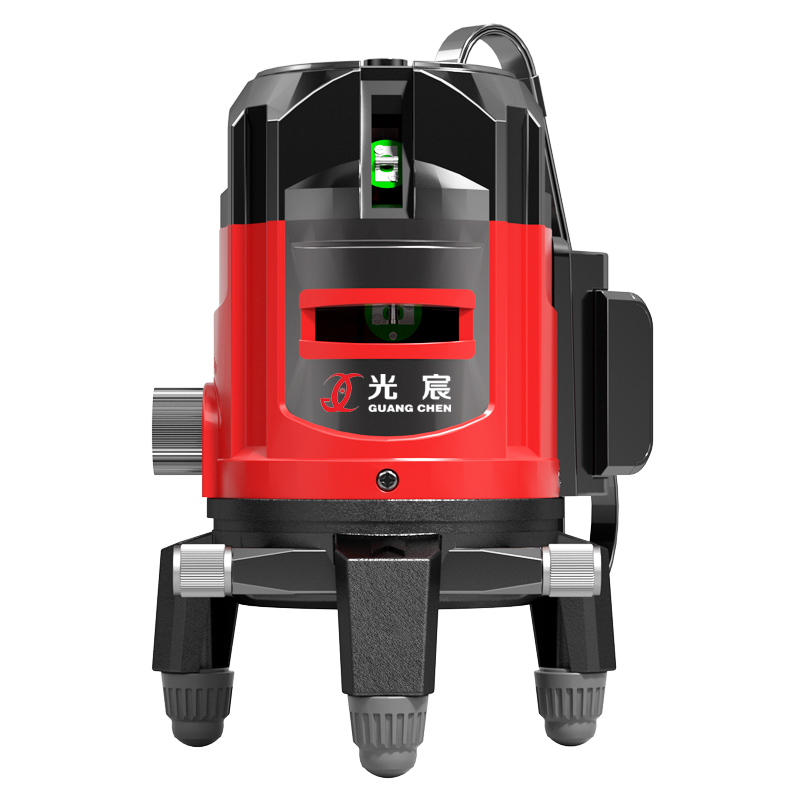 3-Line Laser Level for Single-Room LayoutCompact 3-line laser with one horizontal and two vertical lines, suited to fast single-room floor and square references.View Product → is usually enough: one horizontal reference for the floor and two verticals for square. It sets up fast, fits in a tool bag, and does not overwhelm a small space with lines you will never use.
Once you are working across several rooms or combining floor leveling with wall layout, a 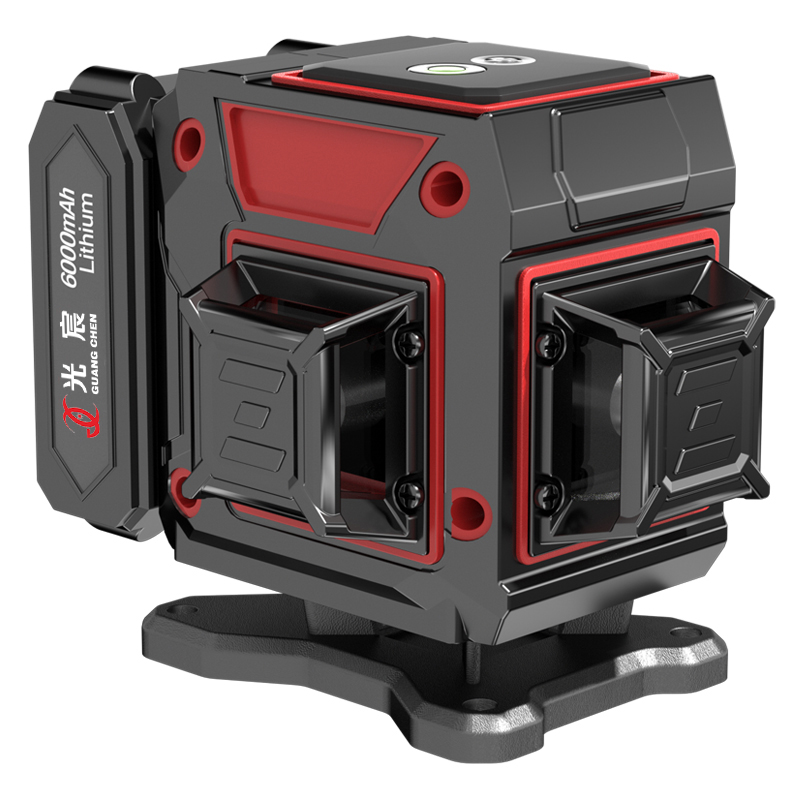 12-Line Laser Level for Multi-Room CoverageProjects four horizontal and eight vertical lines for cabinet, tile, ceiling, and partition work across several rooms with fewer repositioning steps.View Product → earns its place, because the horizontal plane covers the whole room from one position and the vertical planes let you check partitions without re-setting.
On open floors, long corridors, or fit-out work where several trades share one reference, a  16-Line Laser Level for Dense Layout CoverageProjects eight horizontal and eight vertical lines for wall, floor, and ceiling marking, with magnetic mounting and up to 30 m working distance.View Product → gives the densest coverage and the fewest re-positions. The full laser level range is organized by line count if you want to compare configurations side by side.
Setting up and using it on a floor, step by step
The sequence matters more than the model: a stable mount, a verified reference, and a recorded set of readings. Skip any of the three and the numbers are decoration.
- Charge the battery and mount the unit on a tripod at roughly 1 to 1.5 m, high enough that the line clears skirting and furniture.
- Let it self-level. If the line flashes or the unit beeps, the surface is outside the correction range — shim a tripod leg rather than forcing it.
- Verify the reference. Mark the line on two opposite walls, rotate the unit 180°, and confirm the marks still coincide. A unit that fails this check needs service before you trust a single reading from it.
- Map the floor. Measure from the line down to the floor at a grid of points and write the numbers down. The spread tells you the total deviation; the pattern tells you where to grind and where to fill.
- Set the finish height. Raise or lower the line to the target elevation and transfer it around the room, checking thresholds and stair nosings as you go.
- Mark layout. Use two vertical planes to establish square, then cross-check with a 3-4-5 triangle measured on the floor.
- Re-verify after every bump, move, or battery change. It takes thirty seconds and it is the cheapest insurance on the job.
If you are new to the instrument, the fundamentals of mounting, leveling, and reading a line are covered in this guide to basic laser level setup and use; the floor-specific part is simply measuring downward instead of across.
Where floor laser work goes wrong
Most floor laser errors come from setup and interpretation rather than from the instrument itself. These are the recurring ones.
- An unverified reference. A laser that has been dropped still projects a perfectly crisp line — just not a level one.
- A soft or sprung subfloor. A tripod on suspended timber moves as people walk past; readings drift by a millimeter or two without anyone noticing.
- Reading beyond the accuracy distance. Error grows with distance, so a 60 ft sight line is not twice as good as a 30 ft one — it is twice as uncertain.
- Ignoring temperature. A unit carried in from a cold vehicle needs time to acclimatise, or the compensator will hunt.
- Dirt under the measurement point. Sweep before you measure; a stray screw or a ridge of adhesive reads as a floor defect.
- Forgetting the unit's own height. Always measure to the projected line, never to the housing, and note the height you used.
- Exceeding the self-leveling range with the compensator locked. Some models keep projecting a tilted line in lock mode — check the indicator before you trust it.
Frequently asked questions
How accurate does a floor laser level need to be?
For general floor leveling, ±1/8 in at 30 ft is adequate. For large-format tile, thin resilient flooring, or long sight lines across an open plan, look for ±1/16 in at 30 ft, because the tolerance of the finished floor is often tighter than the tolerance of the tool.
Can a floor laser level be used outdoors?
Yes for rough grading and slab work, but sunlight washes out the beam at distance. Use a detector or receiver, keep sight lines short, and treat outdoor readings as approximate unless you can verify them against a known benchmark.
Do I need 360° coverage for a single room?
Not strictly. A 3-line unit handles one small room well. The 360° horizontal plane becomes worthwhile when a single setup has to cover an entire floor plate, or when you are moving between rooms all day.
How often should the unit be calibrated?
Annually for daily site use, and immediately after any fall or rough transport. A two-point check before a critical pour costs a minute and catches most drift before it becomes a callback.
Can I just set it on the floor instead of a tripod?
You can, but the line then sits only a few centimeters above the surface, which makes it hard to read and easy to block. A low tripod or a wall bracket gives a cleaner reference and keeps the beam above debris.
A floor laser level earns its cost when it removes re-work: one verified setup per room, one consistent height reference, and a written record of where the floor deviates. Choose accuracy against the tolerance of your finished floor, choose coverage against the number of rooms you set up in a day, and choose a sealed, IP-rated body if the tool lives on site. Then build the verification step into every job, because the instrument is only as good as the check you ran before you trusted it.