 English
 русский
 Español
 عربى
عربى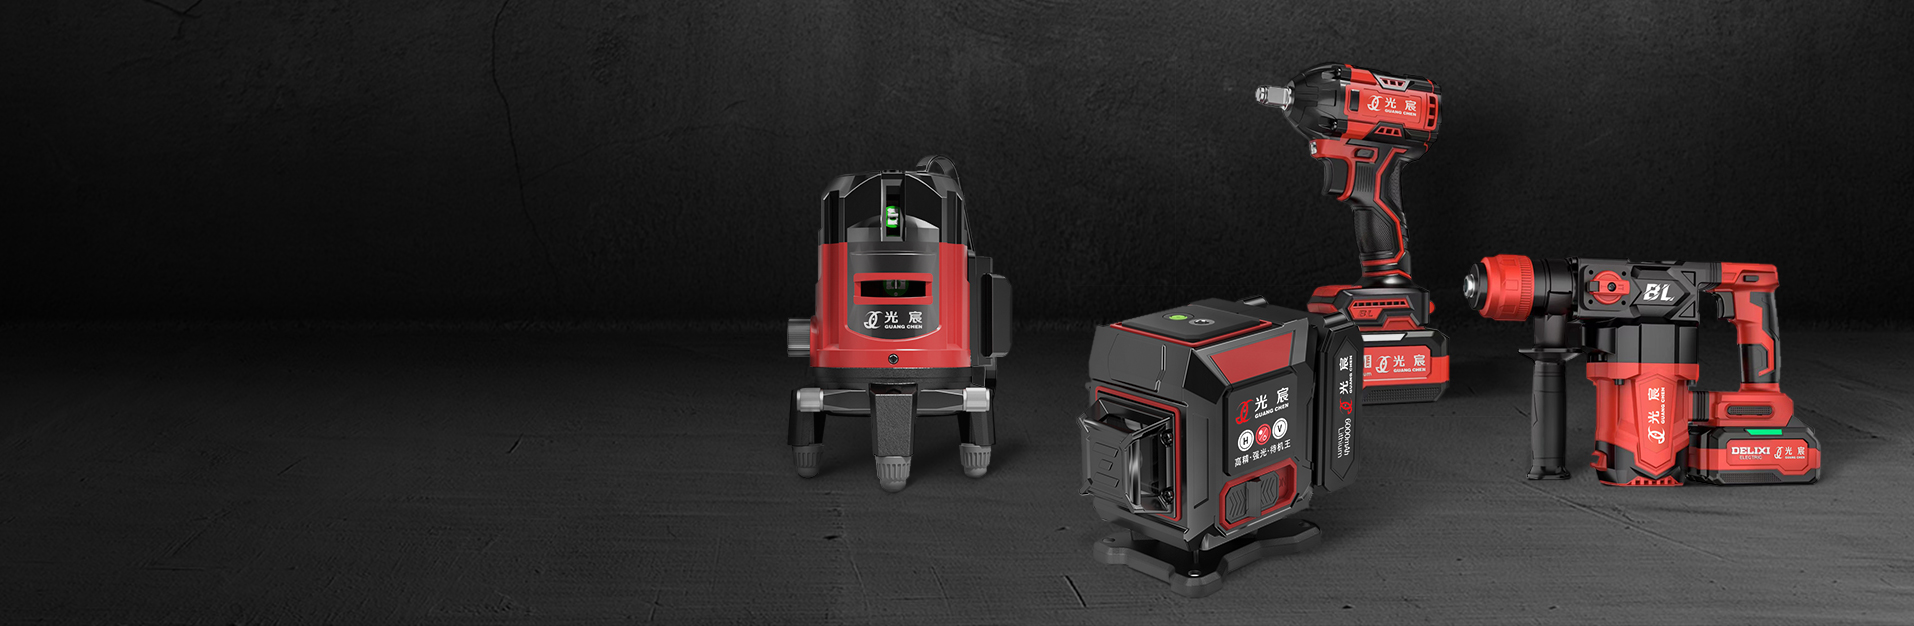
A 5 point laser level is a specialized alignment tool that simultaneously projects five laser dots — one straight down (nadir), one straight up (plumb up), one horizontal to the left, one to the right, and one forward — giving you a precise three-dimensional reference grid in a single setup. Whether you're a professional contractor or a serious DIYer, understanding exactly what this tool does and how to choose the right one can save you hours of rework and significantly improve the accuracy of your projects.
Content
- How Does a 5 Point Laser Level Work?
- 5 Point vs. 3 Point Laser Level: What's the Real Difference?
- Top Use Cases for a 5 Point Laser Level
- Key Features to Look For When Buying a 5 Point Laser Level
- 5 Point Laser Level Feature Comparison by Price Tier
- How to Use a 5 Point Laser Level: Step-by-Step
- Common Mistakes When Using a 5 Point Laser Level
- Frequently Asked Questions About 5 Point Laser Levels
- Q: Can a 5 point laser level replace a line laser level?
- Q: Is a 5 point laser level accurate enough for professional tile work?
- Q: How far can a 5 point laser level project accurately?
- Q: What is the difference between a 5 point and a 5-line laser level?
- Q: Do I need a laser detector with a 5 point laser level?
- Q: How do I calibrate a 5 point laser level?
- Final Verdict: Who Should Buy a 5 Point Laser Level?
How Does a 5 Point Laser Level Work?
A 5 point laser level works by using a self-leveling pendulum mechanism — or an electronic sensor — to automatically align its internal laser diodes to true plumb and level within seconds. Once placed on a flat surface or mounted on a tripod, the device emits five laser beams simultaneously in fixed geometric positions.
The five dots form the basis of a true 90° spatial reference system: the top and bottom dots establish a perfect vertical plumb line, while the left, right, and front dots help you confirm horizontal alignment across multiple planes at once. This makes it far more efficient than a traditional 3 point laser level, which typically only offers up, down, and one horizontal reference.
Most models self-level within a ±4° compensation range. If the device is placed on a surface tilted beyond this range, an alarm or indicator light warns the user. High-end models can self-level within ±3° and achieve accuracy of ±1/8 inch at 33 feet (±1mm at 10m) or better.
5 Point vs. 3 Point Laser Level: What's the Real Difference?
The key difference is the number of reference planes and the scope of spatial alignment they provide. A 5 point laser level adds two horizontal side-projection dots to the standard up/down/forward configuration, enabling full 360° layout capability without repositioning the tool.
| Feature | 3 Point Laser Level | 5 Point Laser Level |
|---|---|---|
| Number of laser dots | 3 (up, down, forward) | 5 (up, down, left, right, forward) |
| 360° layout capability | No | Yes |
| Typical accuracy | ±1/8" at 30 ft | ±1/8" at 33 ft or better |
| Best for | Simple plumb/level tasks | Full room layout, tiling, framing |
| Typical price range | $20 – $80 | $40 – $250+ |
| Repositioning needed? | Often yes | Rarely |
Table 1: Side-by-side comparison of 3 point vs. 5 point laser levels across key performance and use-case criteria.
Top Use Cases for a 5 Point Laser Level
A 5 point laser level is most valuable whenever you need to transfer precise reference points between a floor and a ceiling — or across multiple walls — without using a chalk line or measuring tape repeatedly.
1. Floor-to-Ceiling Column Alignment
The plumb-up and plumb-down dots are perfectly aligned on a single vertical axis. This means you can mark a spot on the floor, and the ceiling dot will appear directly above it — essential for installing support columns, partition walls, or drop-ceiling grids with no room for error.
2. Large-Format Tile and Floor Layout
When laying 24×24 inch or larger tiles, even a 1° misalignment at the starting point compounds into a visible offset by the time you reach the far wall. A 5 point laser level lets you establish perpendicular layout lines across the entire floor from a single central setup point, typically saving 30–45 minutes compared to snap-line methods on a standard 12×12 ft room.
3. Cabinet and Shelving Installation
Projecting plumb dots onto multiple walls simultaneously allows you to confirm that cabinet runs are perfectly square even when the room itself is not. This is critical in kitchens where a 1/4 inch out-of-square error can cause gaps at countertop joints.
4. Suspended Ceiling Grid Installation
Commercial and residential drop-ceiling installers rely on 5 point laser levels to mark hanger wire positions on the structural ceiling while simultaneously aligning grid start points on the floor, cutting layout time by as much as 50% on large jobs.
5. Staircase and Railing Layout
The multi-directional dots allow a single installer to confirm both the vertical plumb of newel posts and the horizontal run of handrail brackets from floor to landing — tasks that would otherwise require a helper holding a plumb bob or spirit level.
Key Features to Look For When Buying a 5 Point Laser Level
Choosing the right 5 point laser level comes down to matching the tool's specifications to your actual working conditions — not just the headline accuracy number on the box.
Accuracy Rating
Look for a stated accuracy of ±1/8 inch at 33 feet as a minimum for general construction. For tile work or precision carpentry, opt for models rated at ±1/16 inch at 33 feet or better. Be cautious of accuracy claims that don't specify the measurement distance — they're nearly meaningless without context.
Self-Leveling Range
A self-leveling range of ±4° is the industry standard. On uneven job sites — concrete slabs with slope or rough wood subfloors — a ±4° range means you won't need to fine-tune the tripod head before every setup. Some professional models offer ±5°, which further reduces setup friction.
Laser Class and Visibility
Most consumer and professional 5 point laser levels use Class 2 (635–650nm red) or Class 2M (green, 520nm) laser diodes. Green lasers are approximately 4× more visible to the human eye than red in comparable ambient light — an important consideration for outdoor use or brightly lit workspaces. However, green laser models typically cost 20–40% more and consume battery power faster.
IP Rating and Durability
For outdoor or renovation site use, look for an IP54 rating or higher, which ensures dust and splash resistance. Job sites regularly expose tools to concrete dust, sawdust, and incidental water spray — an IP54-rated tool will survive conditions that destroy unrated models within months.
Battery Life and Power Source
Most mid-range 5 point laser levels run on 3 AA batteries, offering between 8 and 20 hours of runtime depending on the number of dots activated. Models with a lithium-ion rechargeable pack offer more consistent voltage output — which directly affects dot brightness as the charge depletes — and are more cost-effective for daily professional use.
Tripod Compatibility
Confirm that the unit has a standard 1/4"-20 threaded mount on the bottom. This ensures compatibility with virtually any photographer's tripod or dedicated laser level tripod. Some models also include a magnetic bracket for mounting to metal studs — a feature that adds measurable convenience during framing work.
5 Point Laser Level Feature Comparison by Price Tier
Budget models can handle basic DIY tasks, but mid-range and professional-tier 5 point laser levels offer meaningfully better accuracy, durability, and battery life that justify the higher cost for frequent use.
| Price Range | Accuracy | IP Rating | Laser Color | Battery Life | Best For |
|---|---|---|---|---|---|
| $40–$80 | ±1/8" @ 30 ft | None / IP40 | Red | 8–10 hrs | Occasional DIY |
| $80–$150 | ±1/8" @ 33 ft | IP54 | Red or Green | 12–16 hrs | Serious DIY / Part-time Pro |
| $150–$250+ | ±1/16" @ 33 ft | IP65 | Green | 18–25 hrs | Daily Professional Use |
Table 2: 5 point laser level specifications and ideal use cases organized by price tier.
How to Use a 5 Point Laser Level: Step-by-Step
Using a 5 point laser level correctly requires just four basic steps, but small mistakes in setup can negate the tool's precision advantages entirely.
- Position the tool — Place the laser level on a stable, roughly level surface near the center of the work area, or mount it on a tripod at the appropriate height for your task. The closer to level the surface, the faster the auto-leveling mechanism will stabilize.
- Allow self-leveling — Wait for the ready indicator (usually a steady green LED or steady dot) to confirm the device has self-leveled. This typically takes 3–8 seconds. Do not mark any points while the LED is blinking.
- Identify your reference dots — Confirm which dot is projecting in which direction by comparing to the unit's orientation indicator. On most models, a small arrow or label indicates the "front" of the device, and the dots are labeled accordingly in the manual.
- Mark and transfer points — Use a pencil or chalk to mark the dot locations on floors, ceilings, and walls. For long runs, place a straightedge or snap a chalk line between the dot and a second reference point to extend the line.
- Verify with a second check — After marking all points, move the tool to a new position and re-project. If the dots fall on your existing marks, your layout is confirmed. If they don't, recheck that the first surface was truly flat and stable.
Common Mistakes When Using a 5 Point Laser Level
Even experienced users make preventable errors with 5 point laser levels that compromise accuracy and waste time.
- Marking before leveling is complete: The single most common error. Always wait for the steady-state indicator before marking any reference point.
- Placing the tool on a soft or vibrating surface: Placing the unit on a carpet or near operating machinery causes micro-vibrations that prevent consistent self-leveling. Use a hard, stable substrate.
- Working in strong ambient light without a detector: In sunlit conditions, red laser dots may be nearly invisible beyond 15 feet. Either use a green laser model or a compatible laser detector, which can extend working range to 100+ feet outdoors.
- Confusing dot orientation: The five dots are not interchangeable — projecting the "left" dot onto the ceiling and calling it plumb will produce systematic errors. Always orient the tool consistently relative to your work area.
- Ignoring battery level: A low battery causes reduced laser intensity and, in some models, inaccurate self-leveling compensation. Replace or recharge before starting any precision layout.
Frequently Asked Questions About 5 Point Laser Levels
Q: Can a 5 point laser level replace a line laser level?
Not entirely — they serve different purposes. A 5 point laser level projects discrete dots, which are ideal for plumb and perpendicular point-to-point alignment. A line laser projects continuous horizontal or vertical planes, which are better for leveling long runs of tile, chair rail, or picture hanging across an entire wall. For most remodeling work, having both tools covers every scenario; for pure layout and framing tasks, the 5 point model alone is often sufficient.
Q: Is a 5 point laser level accurate enough for professional tile work?
Yes, provided you select a model rated at ±1/8 inch at 33 feet or better. For large-format tiles (24×24 inches or larger), a mid-range 5 point laser level with ±1/8" accuracy will produce results within acceptable industry tolerances for residential tile installation. For natural stone or rectified tile with grout joints under 1/16 inch, a professional-grade model with ±1/16" accuracy is strongly recommended.
Q: How far can a 5 point laser level project accurately?
Most consumer models are rated for accurate projection up to 30–33 feet (9–10 meters) indoors. Professional models with green lasers may be rated up to 50 feet (15m) indoors without a detector. With a compatible pulse-mode laser detector, working range outdoors can extend to 100–165 feet (30–50m) depending on the model.
Q: What is the difference between a 5 point and a 5-line laser level?
A 5 point laser level projects five individual dots, creating a point-reference system ideal for plumb and layout transfer. A 5-line laser level projects five full laser planes (typically three horizontal and two vertical, or variations thereof), creating continuous reference lines across entire walls and ceilings. Five-line lasers are generally more expensive ($150–$500+) and better suited for large-scale room layout, while 5 point models offer more targeted precision for column, cabinet, and structural alignment work.
Q: Do I need a laser detector with a 5 point laser level?
Indoors in normal lighting, no detector is needed. However, for outdoor use, bright ambient light, or working distances beyond 30 feet, a compatible laser detector is highly recommended. Detectors pick up the laser's pulse signal rather than its visible light, making them effective in full sunlight. Ensure any detector you purchase is listed as compatible with your specific laser level model — not all detectors work with all laser frequencies.
Q: How do I calibrate a 5 point laser level?
Most users should not attempt field calibration beyond verifying accuracy with the wall check method: project a plumb dot onto a wall, rotate the unit 180°, and check whether the dot falls in the same position. If it deviates by more than the manufacturer's stated accuracy, send the unit to a certified service center. Attempting internal calibration without proper equipment will typically void the warranty and may worsen accuracy.
Final Verdict: Who Should Buy a 5 Point Laser Level?
A 5 point laser level is worth buying for anyone who regularly performs layout-intensive tasks — tile installation, cabinet hanging, drop-ceiling grids, partition framing, or staircase work — where transferring accurate plumb and level references between floor, ceiling, and walls is a recurring requirement.
For occasional picture hanging or simple shelf leveling, a basic spirit level or 2-line laser is sufficient and more cost-effective. But once your projects involve multiple reference planes or distances beyond 10 feet, the time savings and accuracy gains of a quality 5 point laser level more than justify an investment in the $80–$150 mid-range category.
Professional contractors performing daily layout work on commercial or multi-unit residential projects should invest in a professional-grade model ($150–$250+) with a green laser, IP65 rating, and lithium-ion battery — the durability and accuracy improvements deliver measurable ROI within the first month of regular use.
In summary: if your work demands that floors, ceilings, and walls align precisely in three dimensions, a 5 point laser level is one of the most efficient investments you can make in your tool kit.


